
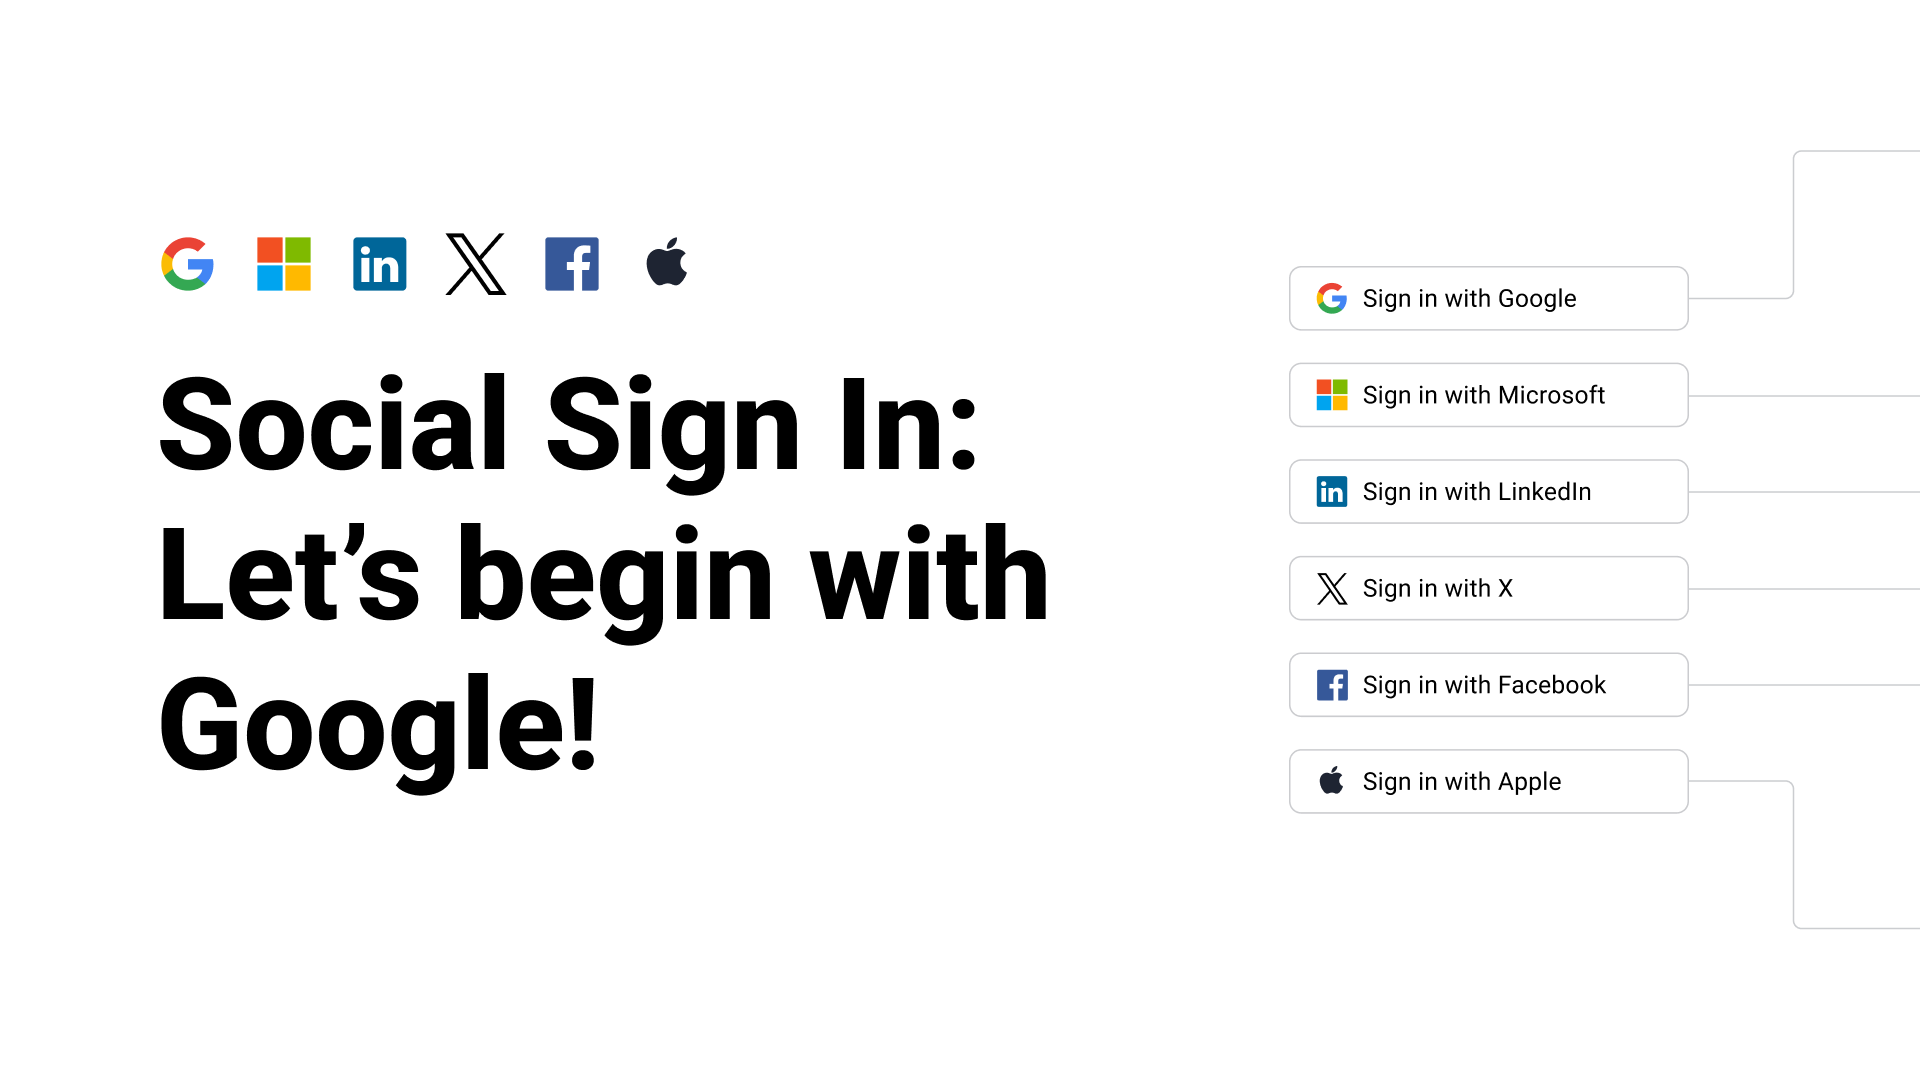

In the rapid development of social media, we should consider that our smart users are becoming lazier. They don't like spending much time typing or remembering things that developers often consider important, such as passwords. This is why Single Sign-On (SSO) options like Google, Facebook, Apple, or Microsoft are becoming more popular and tend to be the most favored choices for users when they first access a mobile app. Let's start with Google, which I find to be the simplest provider to integrate from this list. This blog will provide you with a hands-on tutorial from scratch to completion on setting up Google OAuth in your React Native app.
Prerequisites
In this tutorial, I use Yarn to manage packages, so all my ready-to-run commands are executed with Yarn. You can use npm or any other package manager as well; just follow their respective rules accordingly!
- React Native project with Expo Managed Flow
- Node.js. Install the latest version here
- React Native Firebase modules
yarn add @react-native-firebase/app
yarn add @react-native-firebase/auth
yarn add @react-native-firebase/crashlytics
yarn add @react-native-google-signin/google-signin@latest
Okay, we already have powerful tools. Let's start.
1. Create a Firebase Project
- Navigate to Firebase Console and create a new project
- Register your app with Firebase. You will need to set up both Apple and Android apps:
- For Apple app, click the iOS+ icon to launch the setup workflow. You also need to prepare your app's bundle ID. Click Download GoogleService-Info.plist to obtain your Firebase Apple platforms config file (
GoogleService-Info.plist) - For Android app, click the Android icon to launch the setup workflow. You also need to prepare your app's package name. Click Download google-services.json to obtain your Firebase Android config file (
google-services.json)
- For Apple app, click the iOS+ icon to launch the setup workflow. You also need to prepare your app's bundle ID. Click Download GoogleService-Info.plist to obtain your Firebase Apple platforms config file (
- Move both downloaded files into the root of your project. We will need them to set up later
2. Google Sign In Setup
- In the Firebase Console, open the Authentication section
- On the Sign In method tab, enable the Google provider
- Save your changes. Then, download new
GoogleService-Info.plistfile andgoogle-serices.jsonfile, and place them in the root directory of your project.
Now, you are done with the Google and Firebase setup. Let's get back to our project and get ready for coding.
3. Configure React Native Firebase modules
In app.json file, paste the following code to enable the React Native Firebase modules: App, Auth, and Crashlytics:
{
  "expo": {
    "android": {
      // Path to the file downloaded in Step 3
      "googleServicesFile": "./google-services.json",

      /* Replace with your app's package name */
      "package": "com.mycorp.myapp"
    },
    "ios": {
      // Path to the file downloaded in Step 3
      "googleServicesFile": "./GoogleService-Info.plist",

      /* Replace with your app's bundle ID */
      "bundleIdentifier": "com.mycorp.myapp"
    },
    "plugins": [
      "@react-native-firebase/app",
      "@react-native-firebase/auth",
      "@react-native-firebase/crashlytics",
      [
        "expo-build-properties",
        {
          "ios": {
            "useFrameworks": "static"
          }
        }
      ]
    ]
  }
}
4. Handle Google Sign-In
Create AuthContext.tsx file to handle global auth state:
import React, { createContext, useState, ReactNode } from 'react';

export type User = {
 displayName?: string;
 email?: string;
 photoURL?: string;
 uid: string;
};

interface AuthContextProps {
 user?: User;
 setUser: (user?: User) => void;
}
export const AuthContext = createContext<AuthContextProps>({});

interface AuthProviderProps {
 children: ReactNode;
}
export const AuthProvider: React.FC<AuthProviderProps> = ({ children }) => {
 const [user, setUser] = useState<User>();
 return (
     <AuthContext.Provider value={{ user, setUser }}>
         {children}
     </AuthContext.Provider>
 );
};
Create useAuth.tsx file. We will implement useAuth hook to provide Google Sign In and Sign Out functions.
import { useContext } from 'react';
import { AuthContext } from 'context/AuthContext';
import { GoogleAuthProvider, getAuth, signInWithCredential } from '@react-native-firebase/auth';
import { GoogleSignin } from '@react-native-google-signin/google-signin';

GoogleSignin.configure({
 webClientId: '',
});

export function useAuth() {
 const { user, setUser } = useContext(AuthContext);
 const auth = getAuth();

 async function onGoogleSignIn() {
   await GoogleSignin.hasPlayServices({ showPlayServicesUpdateDialog: true });

   const signInResult = await GoogleSignin.signIn();
   let idToken = signInResult.data?.idToken ?? signInResult?.idToken;
   if (!idToken) throw new Error('No ID token found');

   const googleCredential = GoogleAuthProvider.credential(idToken);
   const userCredential = await signInWithCredential(auth, googleCredential);
   const firebaseUser = userCredential.user;

   setUser({
     displayName: firebaseUser.displayName ?? '',
     email: firebaseUser.email ?? '',
     photoURL: firebaseUser.photoURL ?? '',
     uid: firebaseUser.uid,
   });
 }

 async function onSignOut() {
   try {
     if (user) {
       setUser(undefined);
       await auth.signOut();
       await GoogleSignin.signOut();
     }
   } catch (error) {
     console.error('Sign-out error:', error);
   }
 }

 return {
   user,
   onGoogleSignIn,
   onSignOut,
 };
}
Wrap you app in the context provider:
Now that we have our context ready, let’s wrap our app in it. Open your App.tsx file and wrap your app in the context provider.
import { AuthProvider } from 'context/AuthContext'

const App = () => {

  return (
    <AuthProvider>
        <AppContainer/>
    </AuthProvider>
  );
};
export default App;
5. Sign In Screen
Yay! We're just one step away from enjoying our reward. Let's create a simple Sign-In screen:
import { useEffect } from "react";
import { useAuth } from 'hooks/useAuth';
import { useNavigation } from '@react-navigation/native';
import {StyleSheet, Text, SafeAreaView} from 'react-native';
import { GoogleSigninButton } from '@react-native-google-signin/google-signin';

const SignIn = () => {
    const {
        onGoogleSignIn,
        user
    } = useAuth();
    const { navigate } = useNavigation();

    {/* It would be better to refactor the code
    according to the Authentication Flows provided by React Navigation. */}
    useEffect(() => {
        if(user) navigate("Home")
    },[user])

    return (
        <SafeAreaView style={styles.container}>
            <Text style={styles.text}>Sign In</Text>
            <GoogleSigninButton
              size={GoogleSigninButton.Size.Wide}
              color={GoogleSigninButton.Color.Dark}
              onPress={() => onGoogleSignIn()}
            />;
        </SafeAreaView>
    );
};

const styles = StyleSheet.create({
  container: {
    flex: 1,
    justifyContent: 'center',
    alignItems: 'center',
    padding: 8,
  },
  text: {
    margin: 24,
    fontSize: 18,
    fontWeight: 'bold',
    textAlign: 'center',
  },
});


export default SignIn;
6. Sign Out screen
import { useEffect } from "react";
import { useAuth } from 'hooks/useAuth';
import { useNavigation } from '@react-navigation/native';
import {StyleSheet, Text, SafeAreaView, Button, View} from 'react-native';

const SignOut = () => {
    const {
        onSignOut,
        user
    } = useAuth();
    const { navigate } = useNavigation();

    {/* It would be better to refactor the code
    according to the Authentication Flows provided by React Navigation. */}
    useEffect(() => {
        if(!user) navigate("SignIn")
    },[user])

    return (
        <SafeAreaView style={styles.container}>
          <Text style={styles.text}>
            Sign Out
          </Text>
          <View style={{ padding: 24 }}>
            <Button title="Sign Out" onPress={() => onSignOut()}></Button>
          </View>
        </SafeAreaView>
    );
};

const styles = StyleSheet.create({
  container: {
    flex: 1,
    justifyContent: 'center',
    alignItems: 'center',
    padding: 8
  },
  text: {
    margin: 24,
    fontSize: 18,
    fontWeight: 'bold',
    textAlign: 'center',
  },
});


export default SignOut;
7. Final Thoughts
Implementing Google Sign-In in your React Native app offers users a convenient and secure authentication method. I've detailed the steps as much as possible, and I hope you're now able to successfully integrate this sign-in method with Firebase into your app. If you found this article helpful, please share it with your network. Cheers!