

This article explains how developers can access 3rd APIs that enforce strict access controls such as IP whitelisting by setting up a proxy server on AWS EC2. It walks through configuring the proxy, routing traffic through it, and securely integrating it into development workflows. Before we begin, let’s answer the question:

Why developers need a proxy server to access third-party APIs?
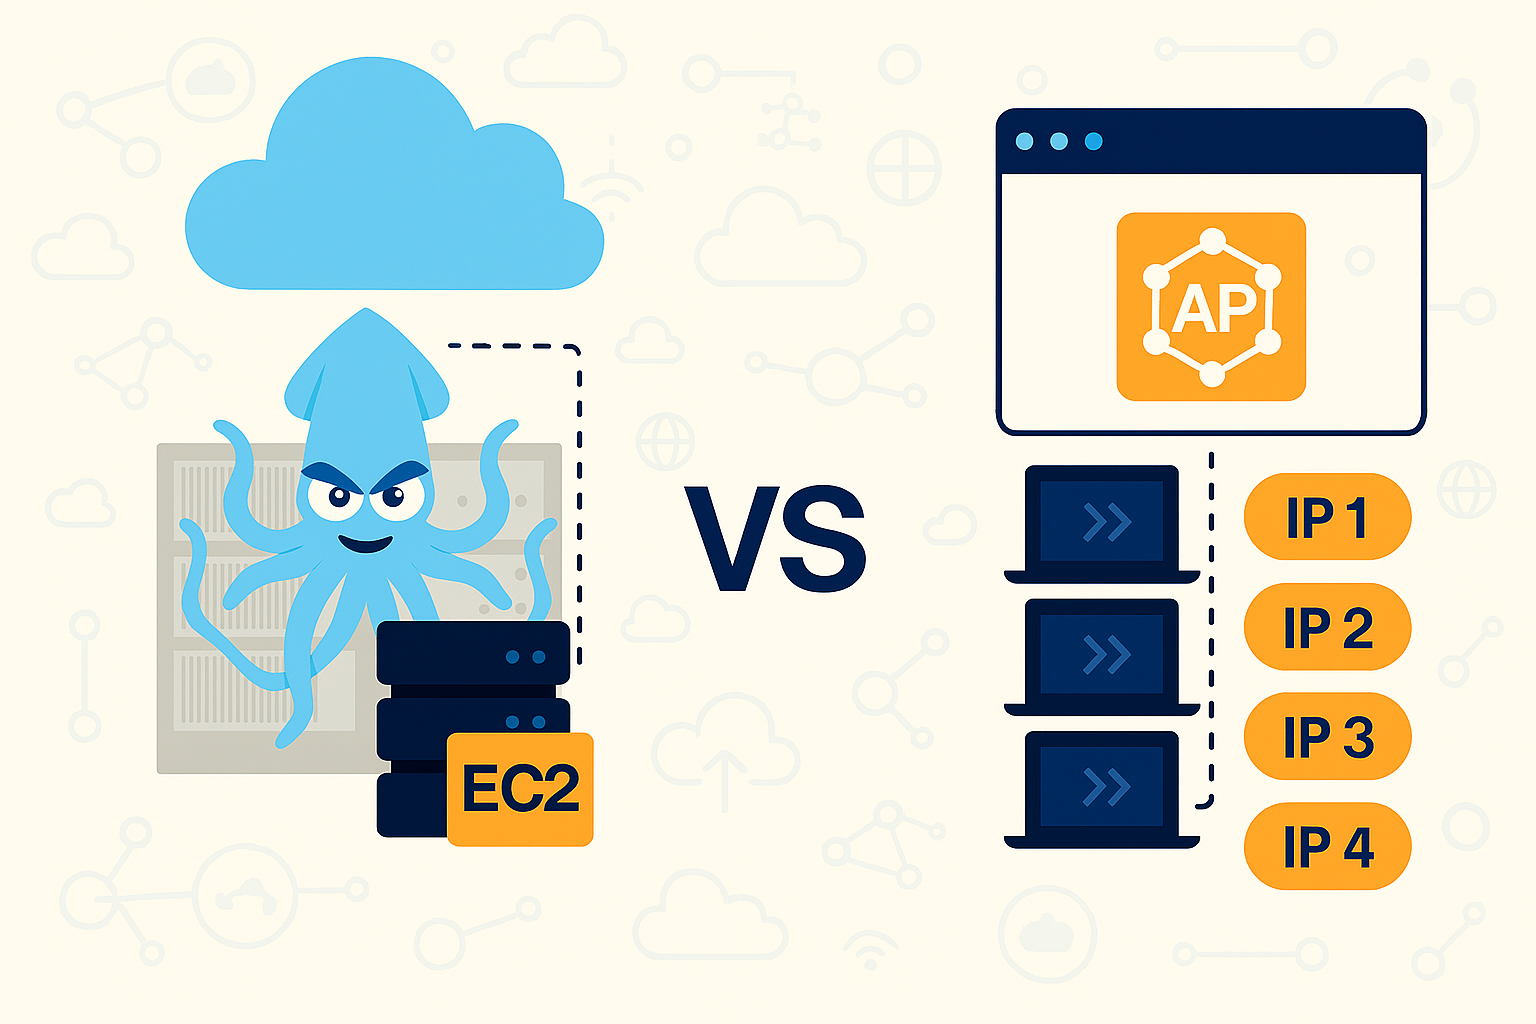
A proxy server helps developers bypass strict IP whitelisting enforced by third-party APIs. Besides, to avoid the need to provide multiple dynamic developer IPs to the third-party API provider. This simplifies coordination, reduces administrative overhead, and ensures consistent access through a single, static IP making it much more convenient for teams working across different networks or locations.
Benefits of using a proxy server:
- Bypass IP Restrictions: Avoid the hassle of updating whitelisted IPs for every developer.
- Centralized Access Control: Manage API access through one secure gateway.
- Logging and Monitoring: Track API requests for debugging and compliance.
- Security: Add an extra layer of protection between your app and external APIs.
- Flexibility: Easily route traffic and apply custom rules without changing client-side code.
Prerequisites
To complete this tutorial, you need an AWS account with access to the AWS Console and permission to launch an EC2 instance.
In the next step, I will illustrate how to set up a proxy server on an EC2 instance.

Step-by-step guide
Step 1: Launch an EC2 Instance
- Login and open AWS ECS console: https://console.aws.amazon.com/ec2
- Click “Launch Instance”. Enter a name for your instance (e.g.,
dev-proxy-server). - Choose an Amazon Machine Image (AMI). In this tutorial, select “64-bit Amazon Linux AMI”.
- Select an instance type.
- For a small team of about 3–5 accounts, I recommend usingt2.micro.
- If your team has more than 5 people,t3.microis a suitable option. - Create a Key Pair. Enter a name for it (e.g.,
dev-proxy-server-key). - Review your configuration and click the “Launch Instance” button.
At this point, the EC2 instance has been launched. Next, I will show you how to connect to the instance and configure the proxy server.
Step 2: Install and Configure Squid Proxy
Open your terminal to SSH into the new instance
ssh -i "dev-proxy-server-key.pem" ec2-user@new-instance-public-ip
Note: We must grant permission for the .pem file
chmod 400 dev-proxy-server-key.pem
Update software version to latest
sudo yum update -y
Install Squid
sudo yum install squid -y
After being installed, we will check Squid status
sudo systemctl status squid
Start Squid if it is not running
sudo systemctl start squid
Enable Squid to start on boot
sudo systemctl enable squid
Step 3: Test the Proxy
We must to know Squid port to test, we run the command line
sudo netstat -tulnp | grep squid
You should see something like:
LISTEN 0 100 0.0.0.0:3128 0.0.0.0:*
This means Squid is listening on port 3128.
In this, I using curl for testing.
curl -x http://new-instance-public-ip:3128 https://whatismyipaddress.com/
If the proxy test fails, make sure to check both the Squid configuration file squid.conf and the EC2 instance's security group to ensure port 3128 is open and accessible.
Final Step: Security Considerations
1. EC2 Security Group Settings
Go to your EC2 dashboard → Security Groups → Inbound Rules.
Add a rule:
Type:        Custom TCP
Port Range:  3128
Source:      Your IP (e.g., 203.0.113.25/32) or 0.0.0.0/0 for testing
2. Squid Configuration
To check and edit the Squid configuration file using vi, follow below command:
sudo vi /etc/squid/squid.conf
Find the http_access deny all line in the file. The default parameter configures Squid to block all HTTP traffic. Unblock web traffic by changing the directive to the following:
http_access allow your_ips
To restart Squid service after changed config file, to type:
sudo systemctl restart squid
Conclusion
You are successfully launched an EC2 instance, installed Squid, tested your proxy, and configured basic security settings. You now have a working proxy server ready to route traffic!